DIY Diaper Cake – Pretty Easy Baby Shower Gift Idea
Diapers make the best baby shower gift since babies use a lot of diapers before they are potty trained. And it is so easy, that diy diaper cake could be done by almost everyone who wishes to present something really charming and yet useful to the mom-to-be.
** This following post contains some affiliate links. Despite that, the written in here is honest and based on my own opinion or/and experience, research and wish to share my findings with you!
Instead of presenting packets of diapers wrapped in a shopping bag to the mom-to-be, you can be a little more creative and make a diaper cake. This is not an edible cake. It is a bunch of diapers stacked together to look like a real cake! Diaper cakes are easy to make, thoughtful and affordable. Adorable gift for the baby (and the mom too!). Here is a guide on how to make DIY diaper cake:
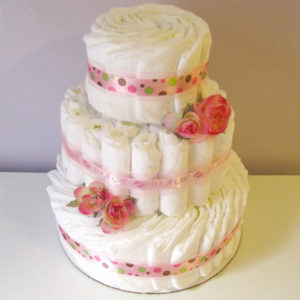
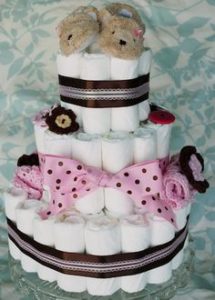
Image source: Babble
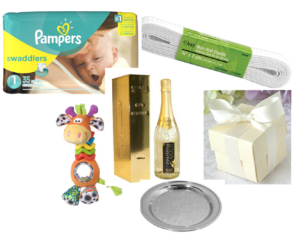
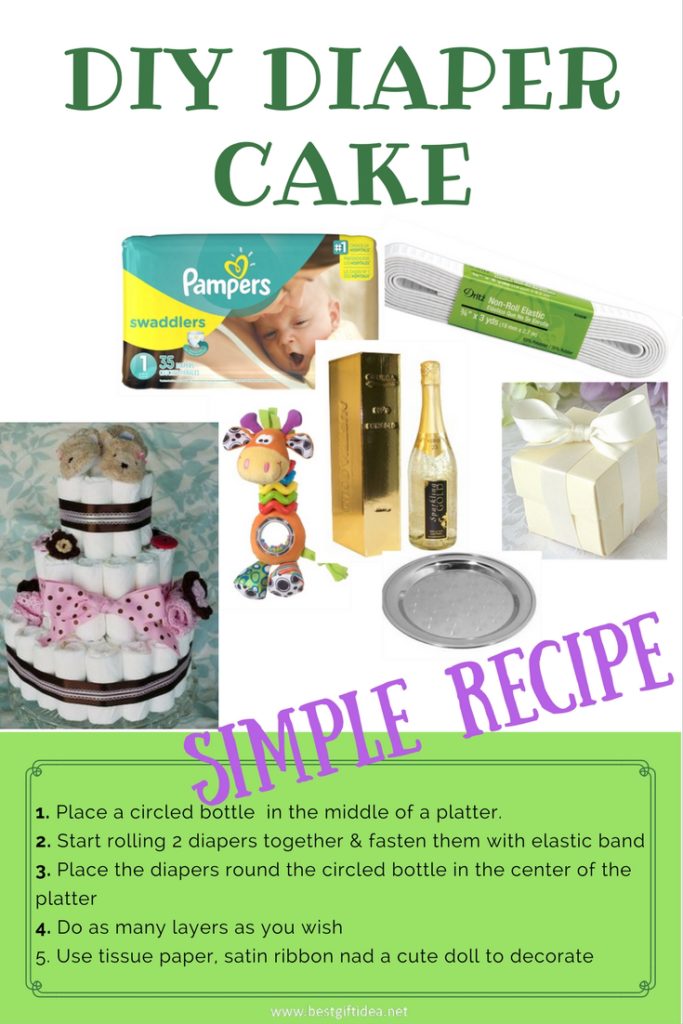
Basic Requirements (or as I call them “basic ingredients” of the diy diaper cake):
- A bottle of champagne – you can use any sparkling wine. It will be for the expecting parents, so you can choose among a great variety or champagnes. I would choose the one with golden flakes, as known as Gold Champagne – it’s more impressive, prettier and if not drank at the time of birth, it will be saved for later on.
- Serving platter (you can either cut out one from a cardboard or purchase from the store)
- Size one diaper (a pack of 35 or a big pack bargain) – depending on the size of the diy diaper cake. To me, something like 35 or maybe 50 will be quite enough. If you have some diapers left, you can always give them unofficially to the mom-to-be (she will be happy to have more diapers in hand)
- Elastic bands
- White tissue paper
- Decorative ribbon – color and size may vary depending on the baby gender, but my advice is to go for more neutral colors like green, yellow, beige.
- A wide white satin ribbon
- A decorative accent like a doll or toy – of course, search for toys which are appropriate for newborns. At the time of their birth, babies are not so impressed by toys and dolls, but after a month any colorful toy will be a good choice (always check for the safety cautions!).
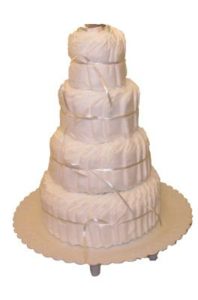
Image source: Pinterest
Decorating the diy diaper cake
As any other cake, you can add some more ingredients to make the look even better and more charming. What you can add are napkins, baby bottle, baby lotion, a lot of small toys, baby shoes, small blanket. Use your imagination (and follow your budget!) You can even personalize the diy diaper cake by putting some sticky letter notes.
Just be careful not to spoil the diapers (they are going to be used on baby bottom after all….)
Procedure (also known as The DIY Diaper Cake Recipe)
Step 1
Place the champagne in the middle of the platter
Step 2
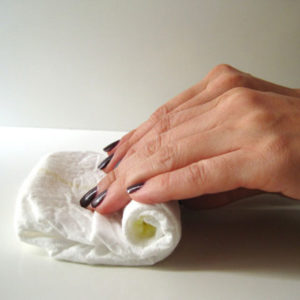
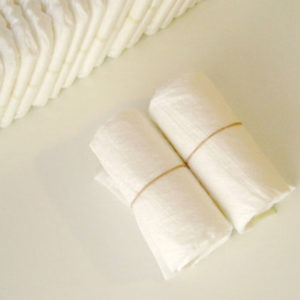
Begin by rolling two diapers together and then fasten them using an elastic band. Make sure that the rubber band isn’t squeezing it too hard, as it could cause damage.
Step 3
Encircle the champagne bottle with rolled up diapers, fitting as many as possible to form a round ring. Now slip an elastic band around the entire ring to secure it. You should repeat the process to form outer rings then fasten each ring with an elastic band. Use about three elastic bands on the entire ring to hold the diapers firmly to the bottle.
Instead of a champagne bottle, you can use any other circled item – such as a baby bottle, or a baby lotion. The thing is that in the center you should put something higher.
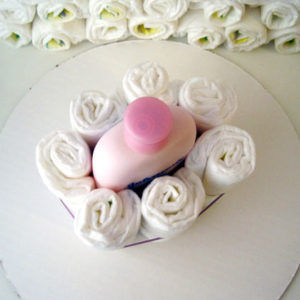
Image source: Babble
Step 4
In case you notice a bit of room between the bottle and the first ring of diapers, slide some unrolled diapers around the bottle and pat them into space so that the bottle stands straight in the middle.
Step 5
Take the tissue paper to cover the entire layer. First take two sheets of tissue paper, place them together then fold them to form a square. Take one corner and cut a series of slits that are equal to the radius of the bottle.
Now unfold the tissue paper, slip it over the neck of the champagne bottle. Then carefully smooth the tissue paper down to cover the sides of the diapers. Get two large elastic bands and stretch them to cover the entire ring.
Trim the excess tissue but make sure you leave enough tissue paper to tuck under the layer of the dry diaper cake.
Step 6
Begin creating the second layer
First, wrap some unwrapped diapers around the bottle and fasten with an elastic band.
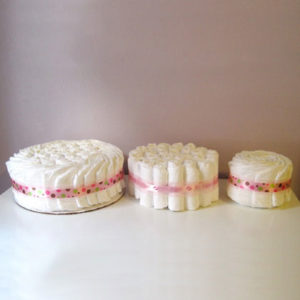
Form a ring of rolled diapers until you get half the thickness of the first layer. Meaning, if the first layer had two rings, the second layer should be one ring of rolled up diapers.
Repeat the process of covering the layer with tissue paper then form a third layer and cover it with tissue paper too. However, do not cut the tissue paper when covering the third layer.
Step 7
Now cover the sides of each layer with white satin ribbon to act as fondant and tie the decorative ribbon around each layer to form a knot at the back of the cake. You can also make a bow using the decorative ribbon and place it at the top of the cake. The diy diaper cake is almost done but not without sticking a cute doll on the side of the cake.
All these instructions are provided by Richard Branson Widney but there are lots of creative and inspirational ideas on how to make a diy diaper cake. Here are some more suggestions on diaper cakes or simply look what I’ve picked up for you on Pinterest.
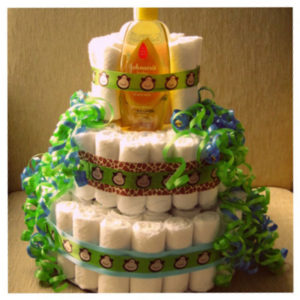
Image by: Baby Savers
Image source: Pinterest
Best on the market (click on the images to enlarge & check prices):
Wanna buy or do-it-yourself? Following the instructions makes the things easy. Enjoy the DIY Diaper Cake!

